
Building a fast and useful website is a process that depends on many different aspects. Since every website is primarily focused on the visual side, it is imperative to do that step correctly. If a client visits your website and does not find it visually appealing, chances are they will not return. To prevent this from happening, I will show you one of the best approaches to image optimization in WordPress.
This simple but very useful process will make your website beautiful, and more importantly, it will load faster. With that in mind, let’s check out how it’s done!
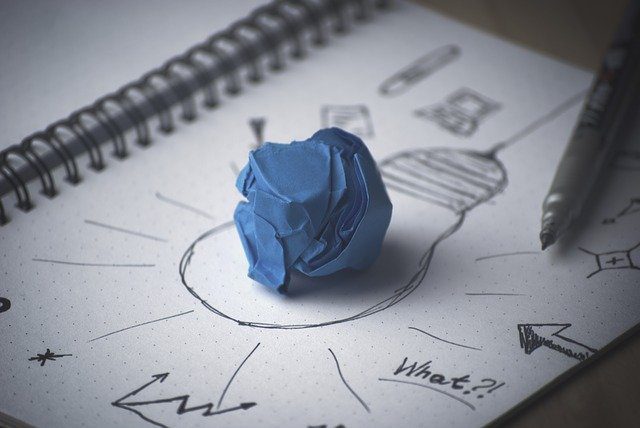
How to prepare images for a page
If you wish to captivate your audience with viral articles, think about how the entire page looks. Even though the actual content is the most important of all, having a wall of text on a white page may often discourage readers from reading it all the way through. That’s why you need to add photos that will break the text into chunks.
The first step towards mastering image optimization in WordPress is learning how to prepare images.
Editing software you will need
Photoshop is one of the best image editing software programs on the market. However, it can also be pricey. On the other hand, there are some free online image editors you can use:
- Pixlr
- Fotor
- BeFunky
These are just examples but will serve fine for your needs. Now that you are fully prepared for editing, let’s take a look at the first step.
- Do I really need this photo on my website?
This is the most important question you can ask yourself. Uploading unnecessary images to your pages will only slow down the loading speed of your website. If you learn how to prioritize when it comes to importing images, you will be one step closer to solving WordPress issues that affect your website.
- How to approach sizing and cropping images
Even though sizing and cropping images seem to be simple processes, it in fact has to do a lot more than just changing the size. You must understand why these changes are necessary.
First of all, the goal of an image depends on the nature of a website. If you are hosting beautiful galleries full of photos, they should be large and of high quality. However, if you are running a blog, the goal of an image is to make the page a bit more entertaining and add a visual aspect to it. With that in mind, the size of the image should not be too large so that it takes the entire focus of the reader. Furthermore, too many large images will make the reader scroll a lot, and that is annoying if you wish to read an article.
Second, when cropping an image, think about the context of what is on it. Usually, photos should be cropped in such a way to remove anything that should not be on it. For example, if you want to focus on the person in an image, you will crop the sides as much as possible, so that the background does not take over. In your case, you should think about the message you are trying to send.
- Scaling an image
In reality, scaling and sizing an image is the same process, but with one important difference. When sizing an image, you have the option of changing its proportions. A square can become a rectangle. This is usually not good practice, because the image will distort.
That’s why you should always scale your photos if you want to keep the same proportions and crop it if you wish to change the proportions.
Another important aspect to keep in mind when it comes to scaling is not to enlarge low-quality photos. They will become pixelated, which is never a good thing.
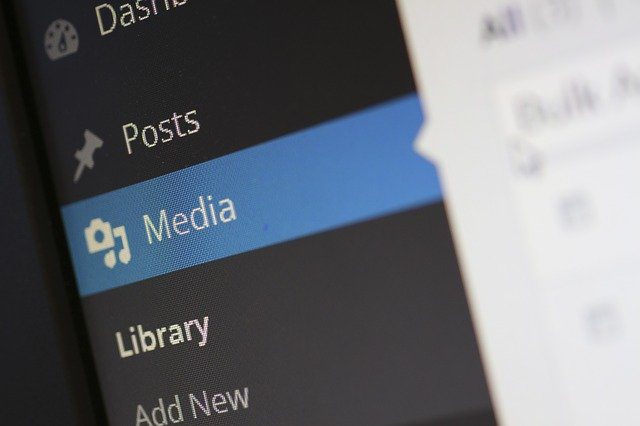
WordPress built-in options for image optimization
While you can use free editing software to optimize your images, you can also use built-in options in WordPress. You can easily manipulate the size and proportions in the Edit mode. The best option is that you can set default sizes and limit the size of the file as well. Furthermore, you can set the template for a thumbnail, without ever having to worry about importing all the photos in the same size.
Still, as a best practice, I always like to optimize photos before I actually upload them to WordPress. The main reason is that I can control how much space they will take up once imported. If you upload a large-scaled photo of 5 megabytes, even if you change the size of it, it will still take up 5 megabytes.

If you don’t want to mess with the crop options in WordPress, optimize your images first, and then import them to WordPress. However, if you decide on this approach, be mindful of the proportions of the photos. They should match the proportions of the templates you have in WordPress.
Responsive images, file types, image compression, caption, and alt attribute
To truly master image optimization in WordPress, you must familiarize yourself with these options:
- responsive images – by default, WordPress has the responsive image option turned on. If you add the “srcset” attribute to an image, you are telling the browser to pick the right size of the image depending on the size of the reader’s monitor.
- file types – image types that work in WordPress are JPG, PNG, WebP, SVG, GIF. To better understand when to use which type, let’s look at their features.
- JPG and PNG are the best choices for compression. However, they are not used for vector images or animation, and only PNG files have the transparency option;
- WebP has good compression, and it supports both transparency and animation;
- SVG is mostly used for vector images, but it also supports transparency and animation;
- GIFs cannot be used as vector images, but they are the best choice for animation;
- compression – there are two types of image compression in WordPress: lossy and lossless
- Lossy compression lowers the quality of an image, by permanently removing some of its data. However, this does not have to be a bad thing, since most of that data is not visible to the naked eye. The size of the image is a lot smaller. This type of compression is possible with JPG, WebP, and GIF types.
- Lossless compression offers higher quality images without any loss of data. However, the downside is that the images will be larger in size. All image types support this type of compression.
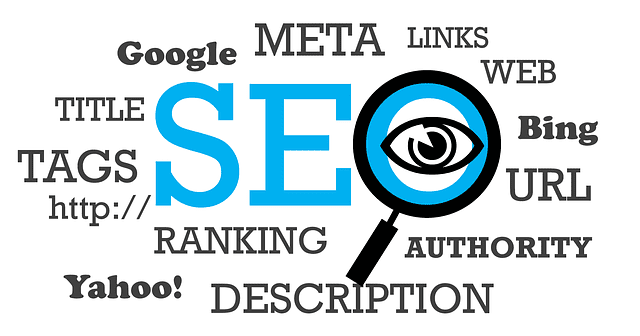
- Caption and alt attribute – even though these two attributes do not have anything to do with the size of an image, they are important if you wish to optimize it for SEO purposes. A caption should always give a descriptive explanation of the section it is connected to, while the alt attribute should describe in detail what is on the photo. Both options exist in the image edit segment in WordPress.
Guide to image optimization in WordPress
Hopefully, this guide to image optimization in WP has enough information to get you started. By optimizing images for your website, you are making sure that the service you offer is on the right level. Pay special attention to all the details, and treat every image with the same care and importance. Good luck!
About Author:-
Louis Packer is a freelance blogger and writer, currently working for WP Full Care, one of the leading companies in WordPress maintenance. He is passionate about SEO and digital marketing, and writes mostly on those topics. When he’s not working, Louis loves playing with his dog.